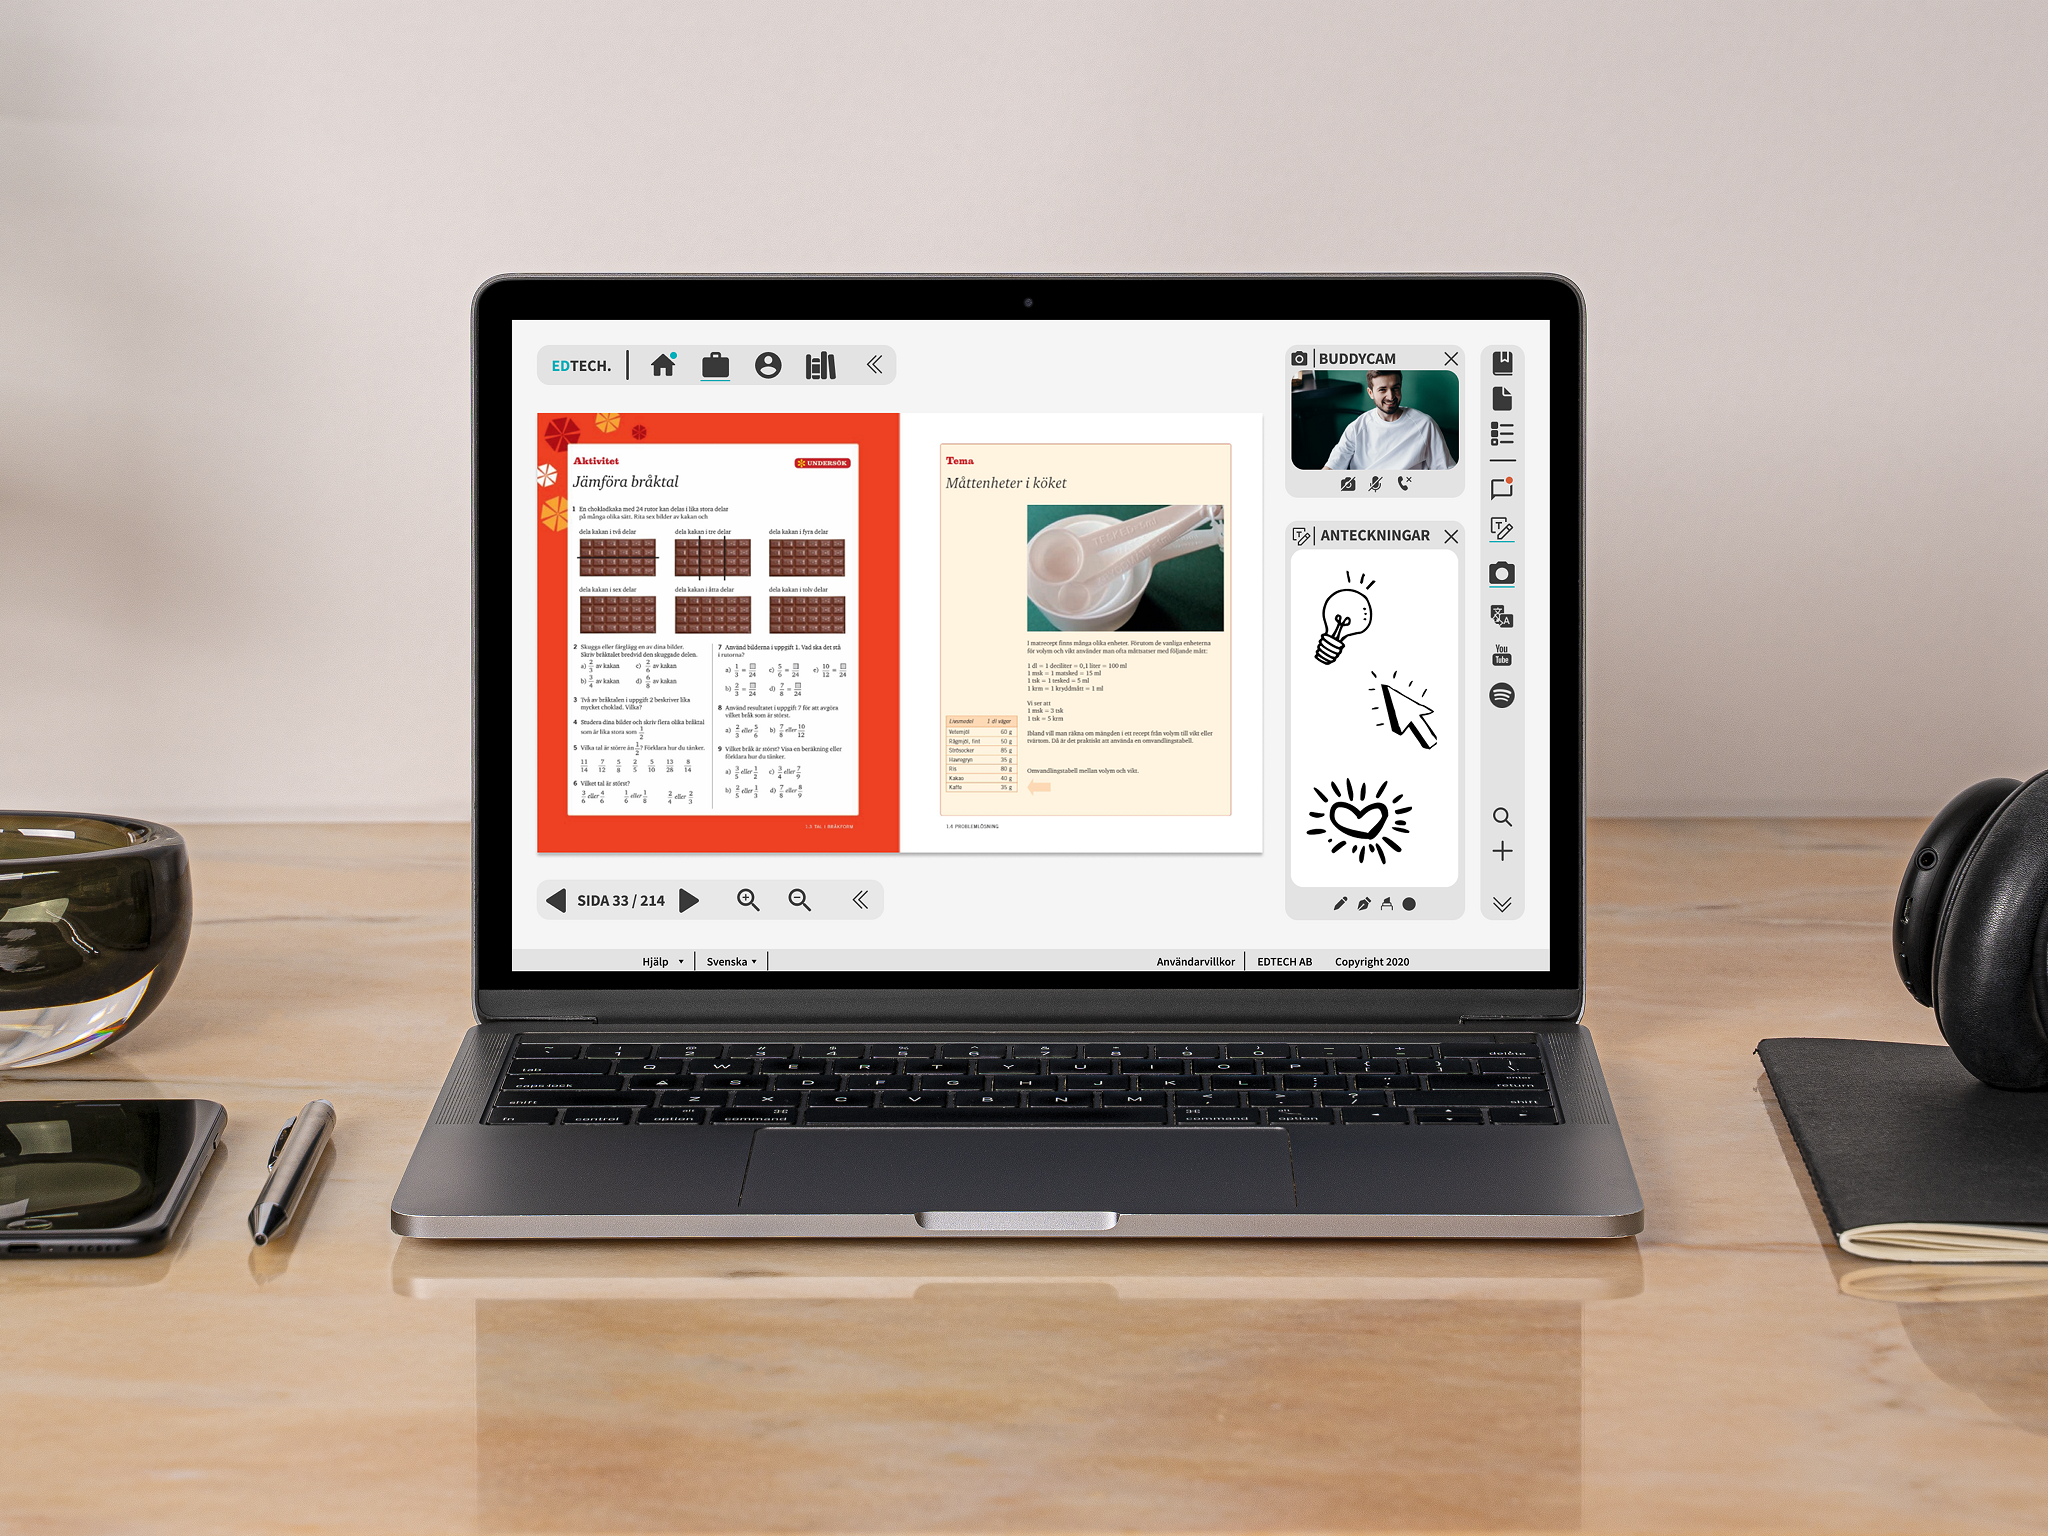
Interactive AR filters for Instagram
In the Lab-course at Changemaker Educations, we got to create our own AR filters using Spark AR studio with custom 3D models made in Cinema 4D.
Tools
I created the AR filters using Spark AR Studio from Facebook. This utility allows you to make interactive AR filters for both Facebook and Instagram, but for this project, I focused on the latter.
For modeling 3D assets, I used Maxon Cinema 4D. Being someone who's not very well-versed in 3D modeling, I found Cinema 4D to be quite easy to pick up, in comparison to other software like Autodesk Maya, or Blender - although I probably only scratched the surface...
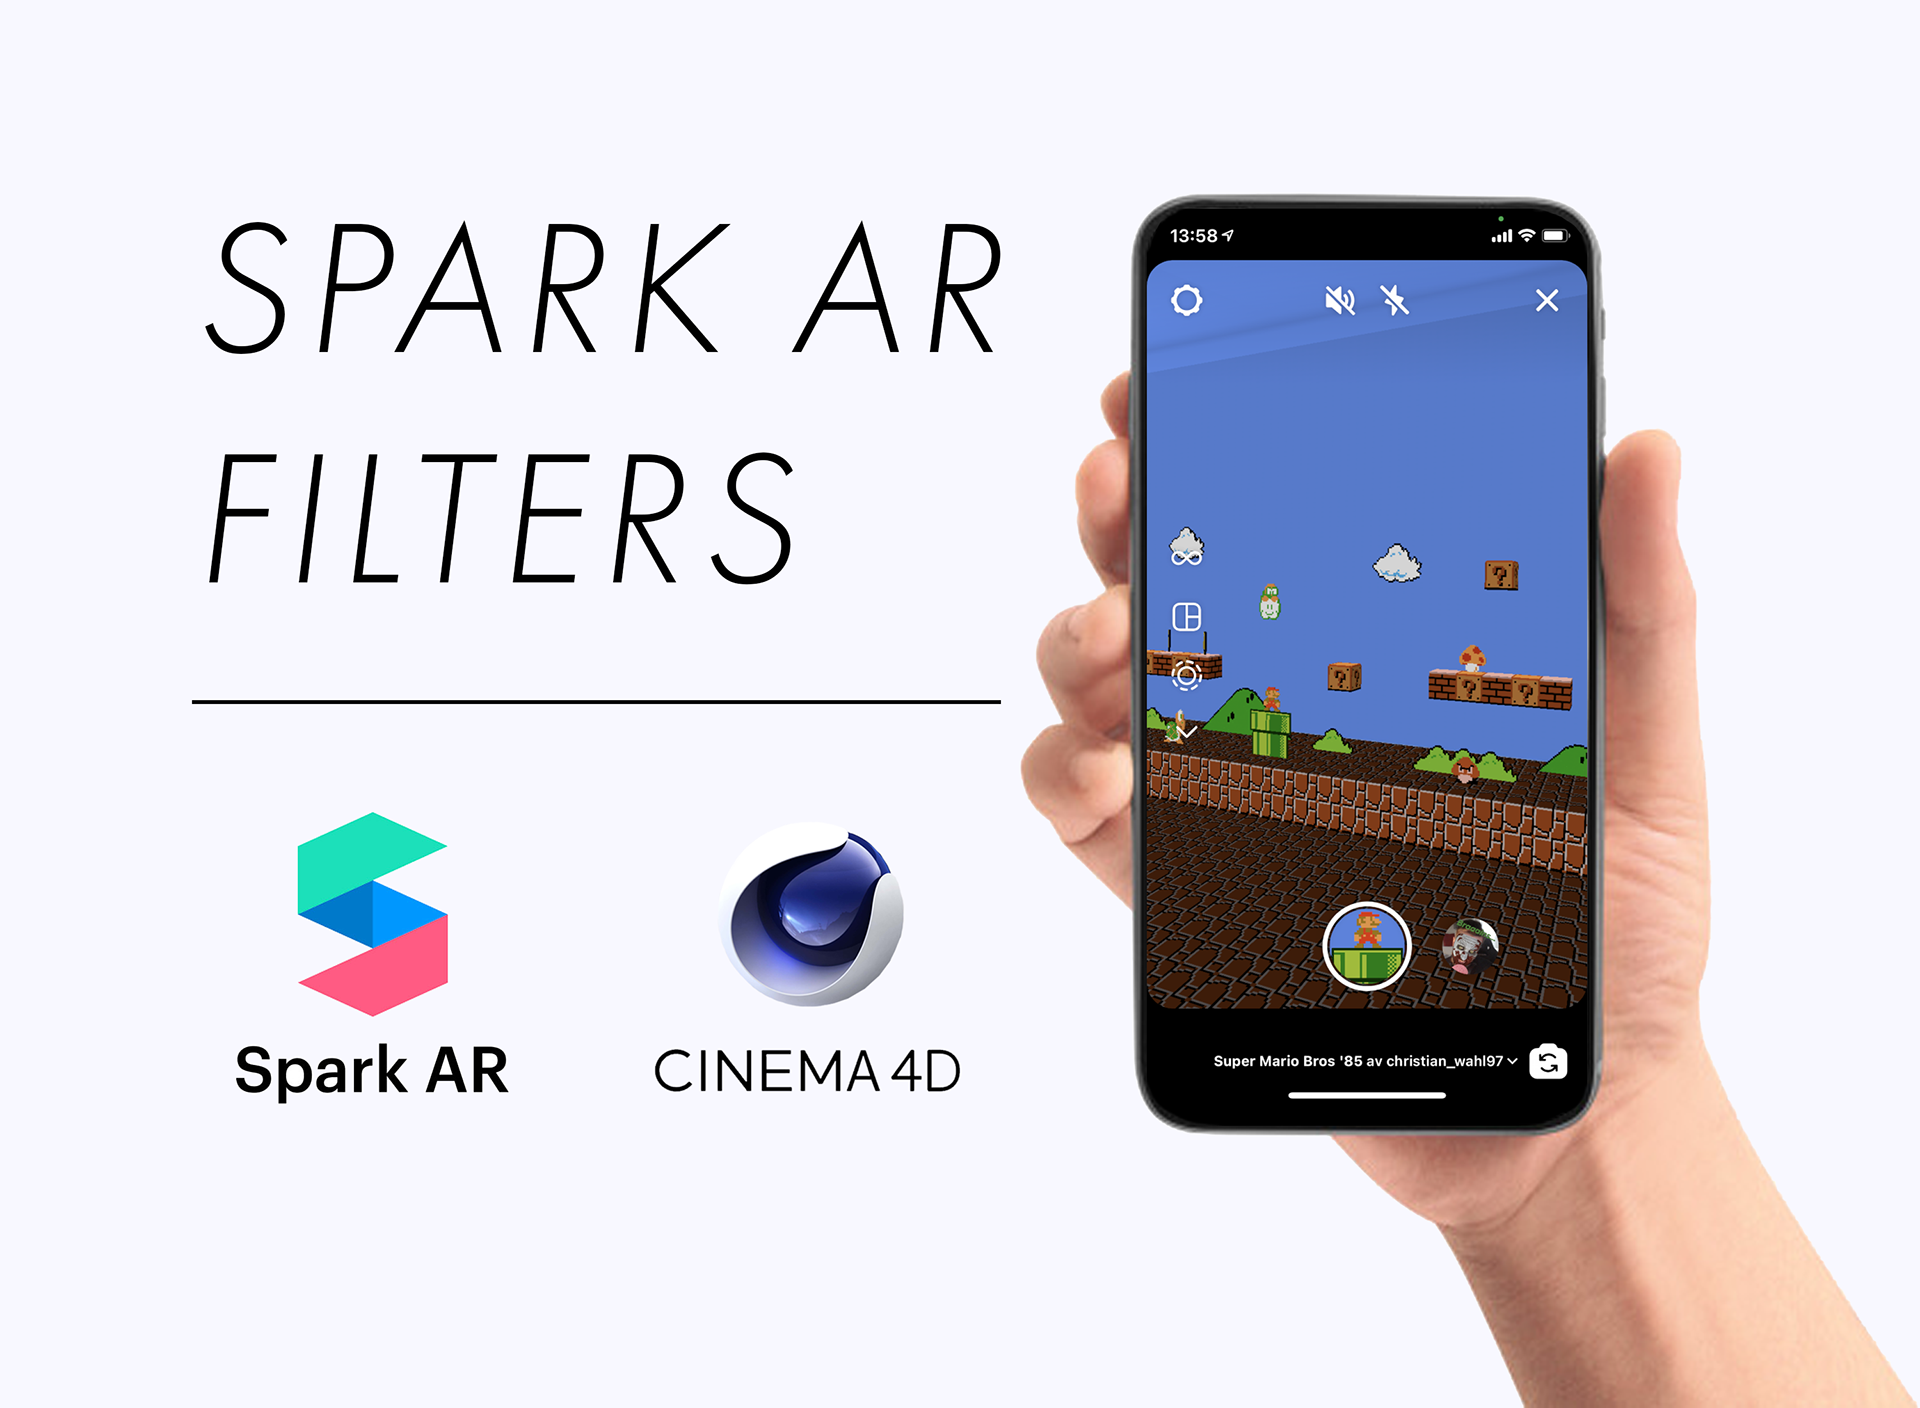
8-bit Super Mario Bros.
My main project during the course was creating a Super Mario Bros AR room box.
The process
The maximum filter file size allowed by Spark AR is a minuscule 2MB, and this was one of the reasons (alongside me being completely new to 3D modeling) that I chose creating an 8-bit Super Mario room box, and not anything more "high-fidelity".
This was a successful recipe since I could create most textures in Photoshop, keeping the polygon count low, and in so doing being able to meet the 2MB requirement.
One of the pictures below is completely modeled from the ground up, and one is using textures. At a first glance, can you tell which is which?
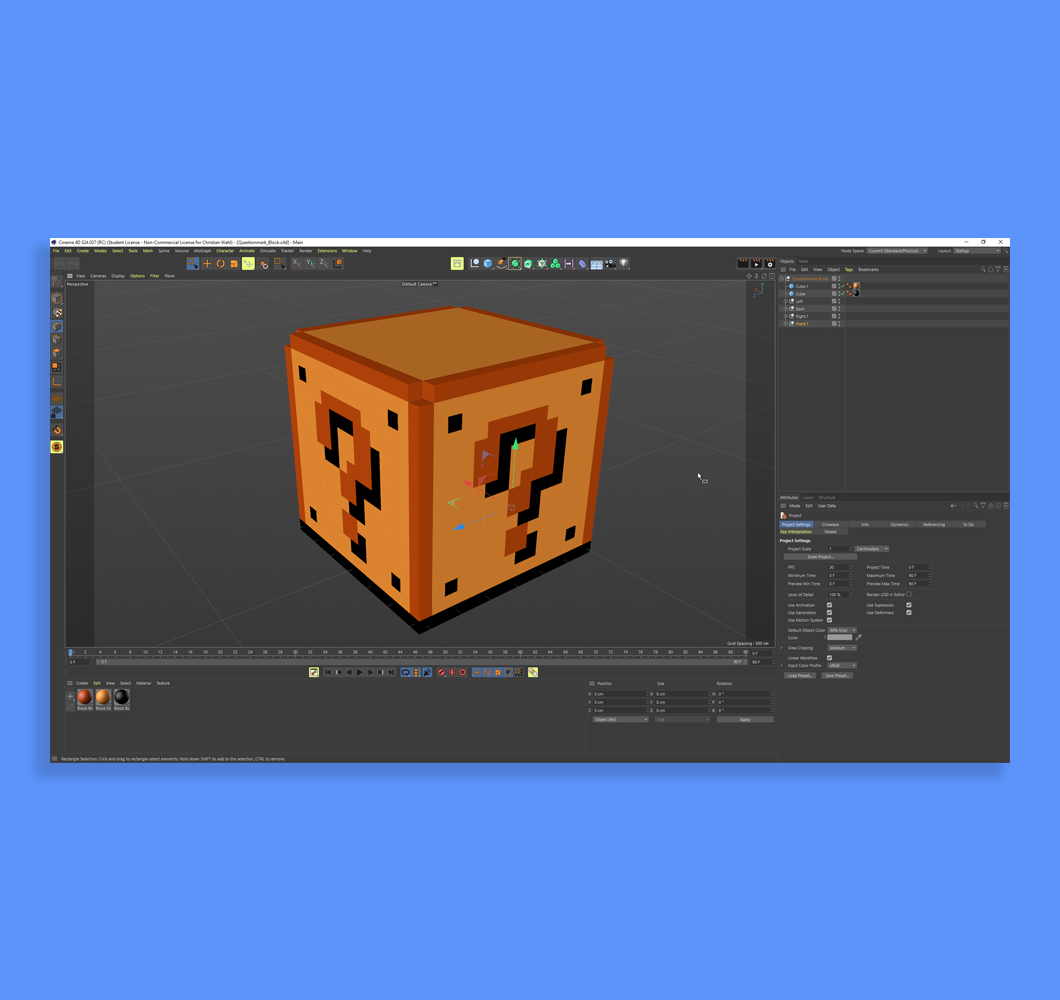
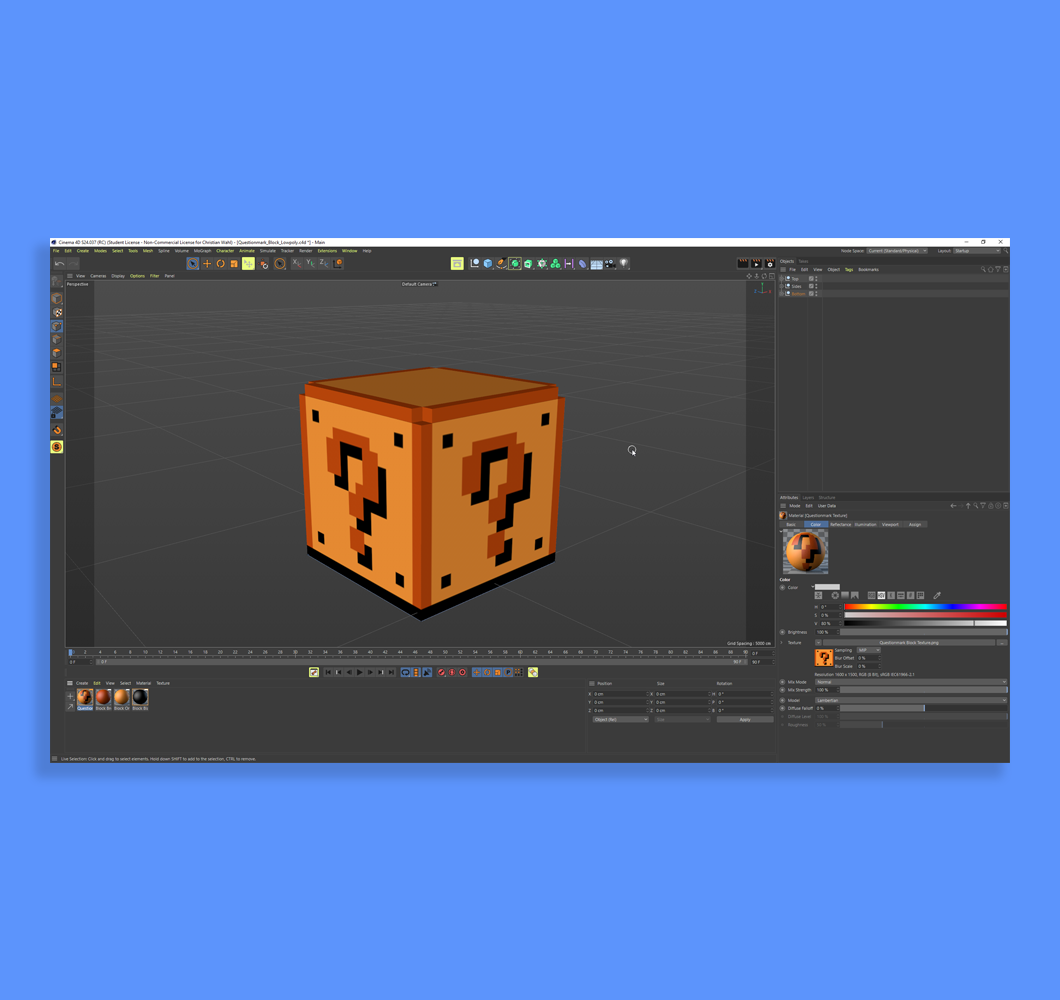
Textures & Models
I started out by creating all the main 3D assets I was going to need to build my room box. These included brick blocks, power-ups, and the classic "Questionmark blocks" found in Super Mario games.
I also needed a ground section and back-drop.
To make the textures feel authentic, I googled pictures from the original Super Mario Bros. game released in 1985 for the NES, to use as reference.
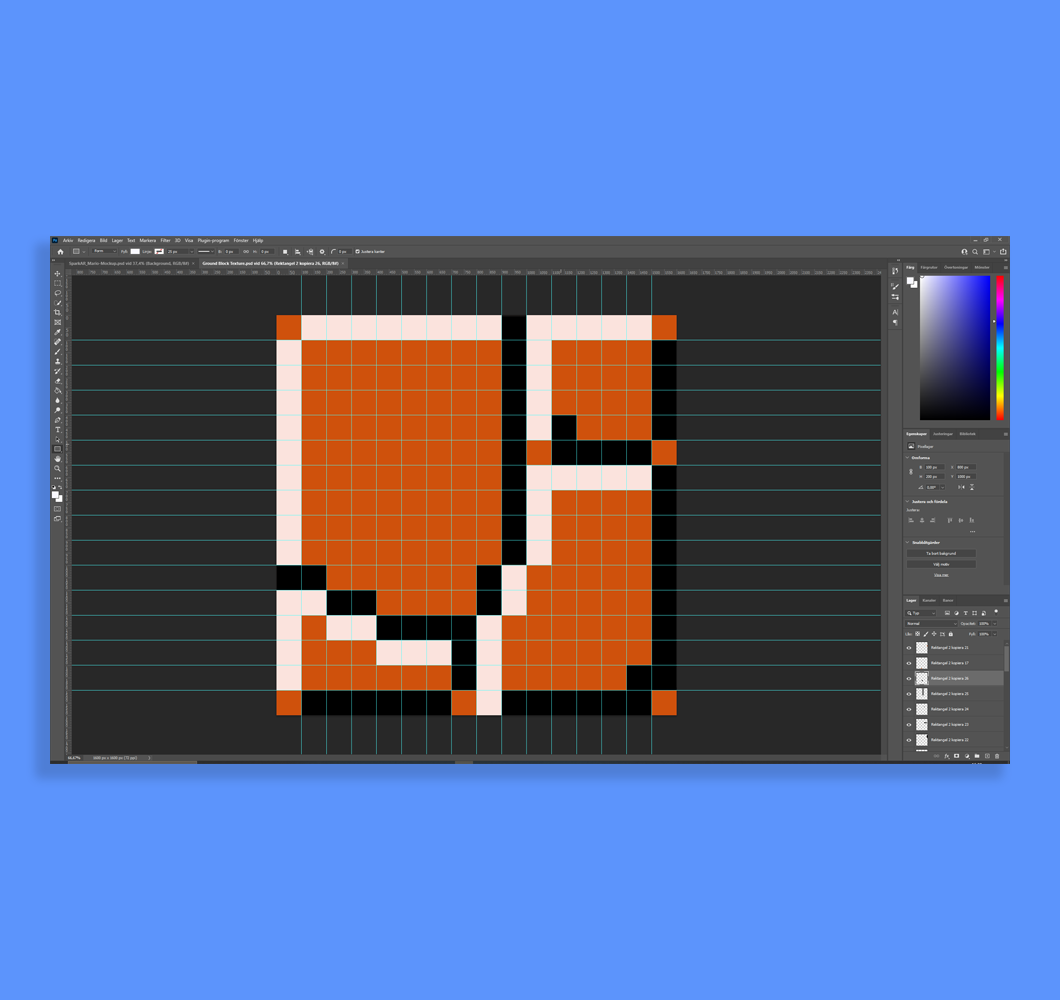
A screenshot of the ground texture I made in Photoshop
Assembling the room box
When most 3D assets were built, I started work on the AR filter using one of Sparks presets "Target tracker" - this allows the filter to trigger when the app detects a certain image or pattern.
I began by placing the target image in Spark and added a backdrop image, between these, I built up the scene using my 3D assets.
I modeled an occlusion box in Cinema 4D. Set to 0% opacity in Spark, this box connects the tracker image with the backdrop fully enclosing the scene, which stops the content from bleeding out the sides when a user moves the filter around.
A slightly smaller copy of the occlusion box was made and colored blue, placed inside it acted as a simple skybox.
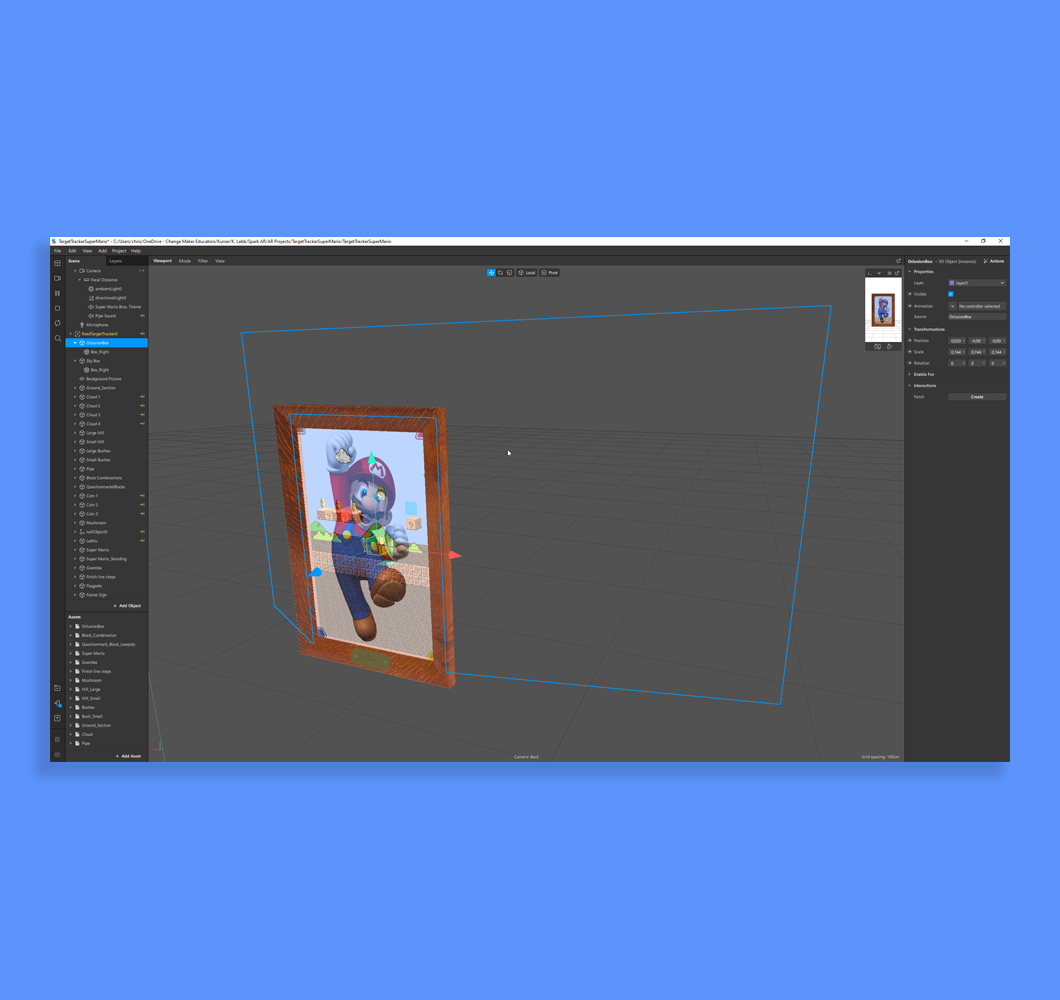
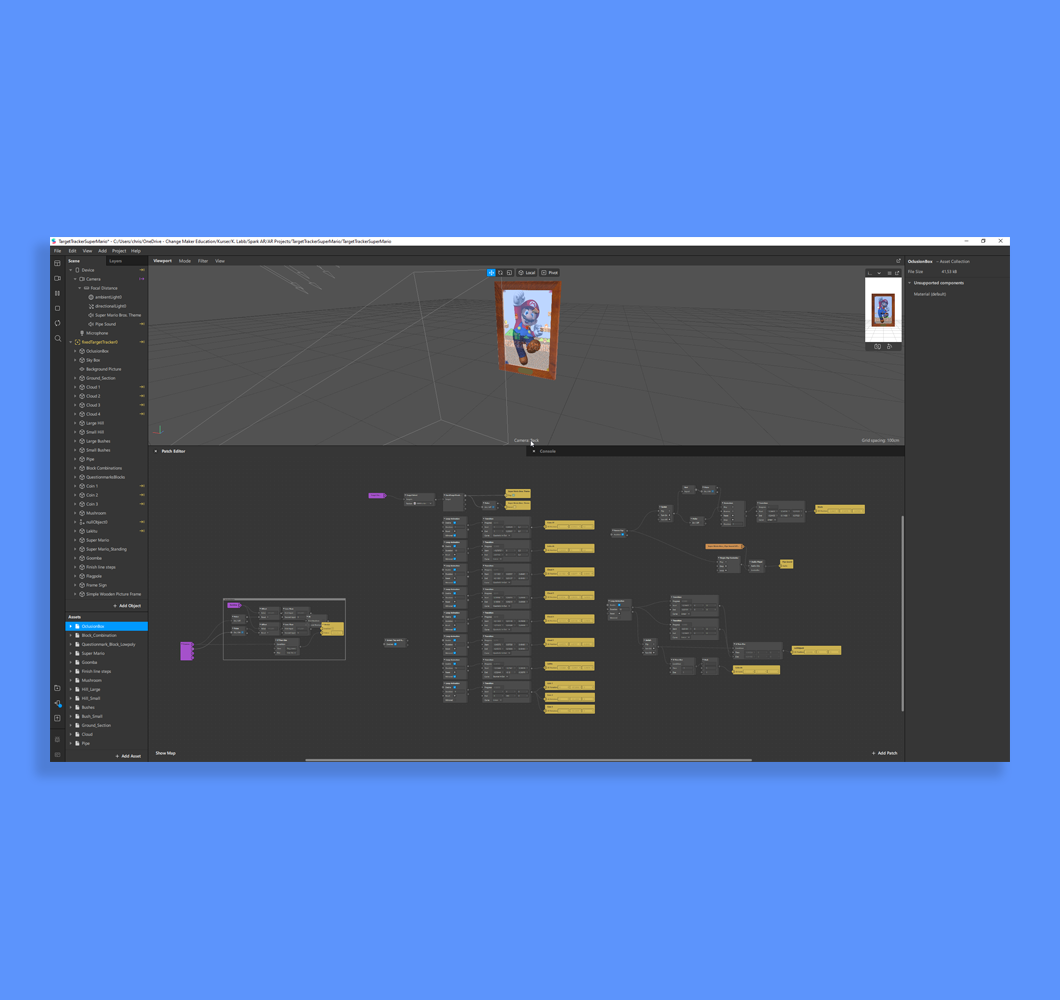
My scene in Spark AR Studio, with the "occlusion box" opacity at 0%
Adding more 3D models and animations
I continued to fill out my scene creating more 3D models. Although mostly 2D planes, placing them at different distances from the "viewport", creates a 3D effect when the filter is moved around.
Finally, I dove into the guts of Spark AR with the patch editor. Here I added animations, making enemies like the Koopa Troopa (Turtle) traverse the scene for example.
I finished up by adding the classic Super Mario Bros. theme, and a little surprise when users press the screen.
Spark AR's patch editor and all the nodes controlling my animations and sounds
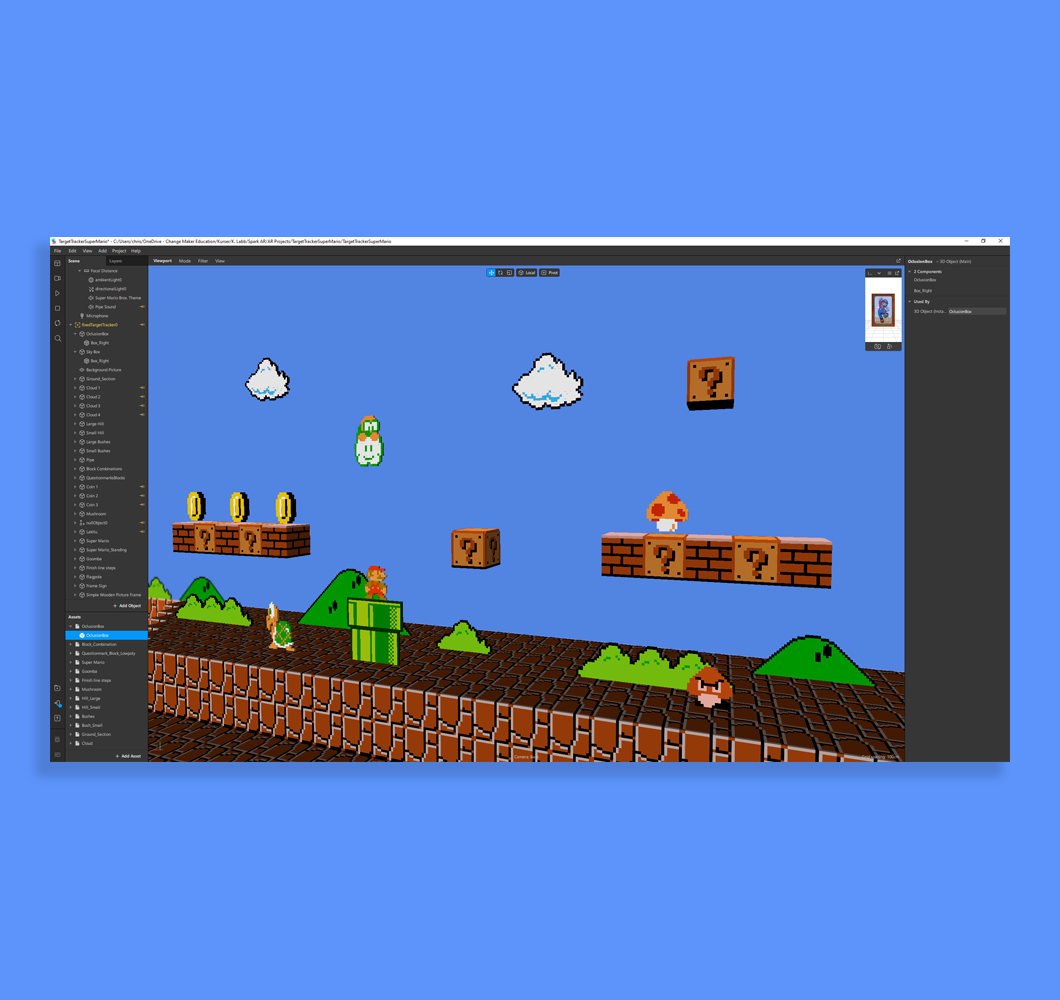
A screenshot from Spark AR studio, showing a close-up of my placed 8-bit assets
Experience the filter!

Step 1
When you have the Instagram app installed on your phone, scan the QR code with your QR reader app or phone's camera app.
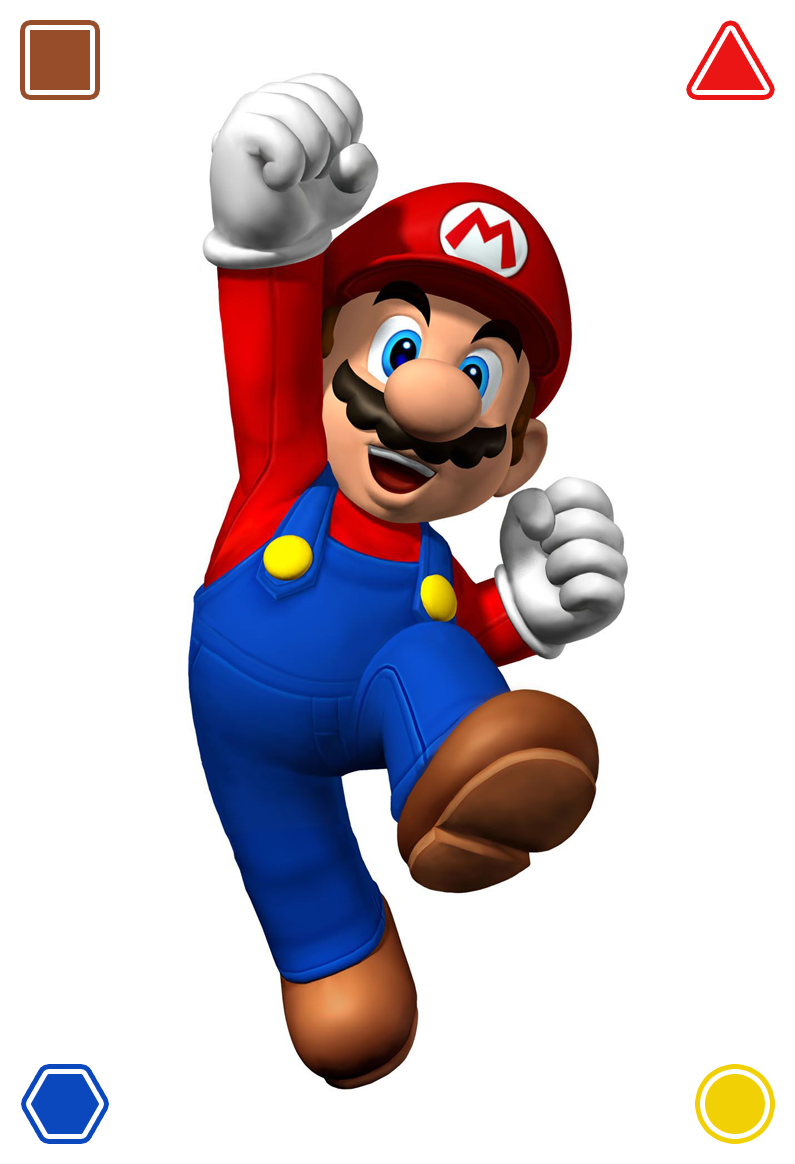
Tracker image, point your phone at Mario!
Step 2
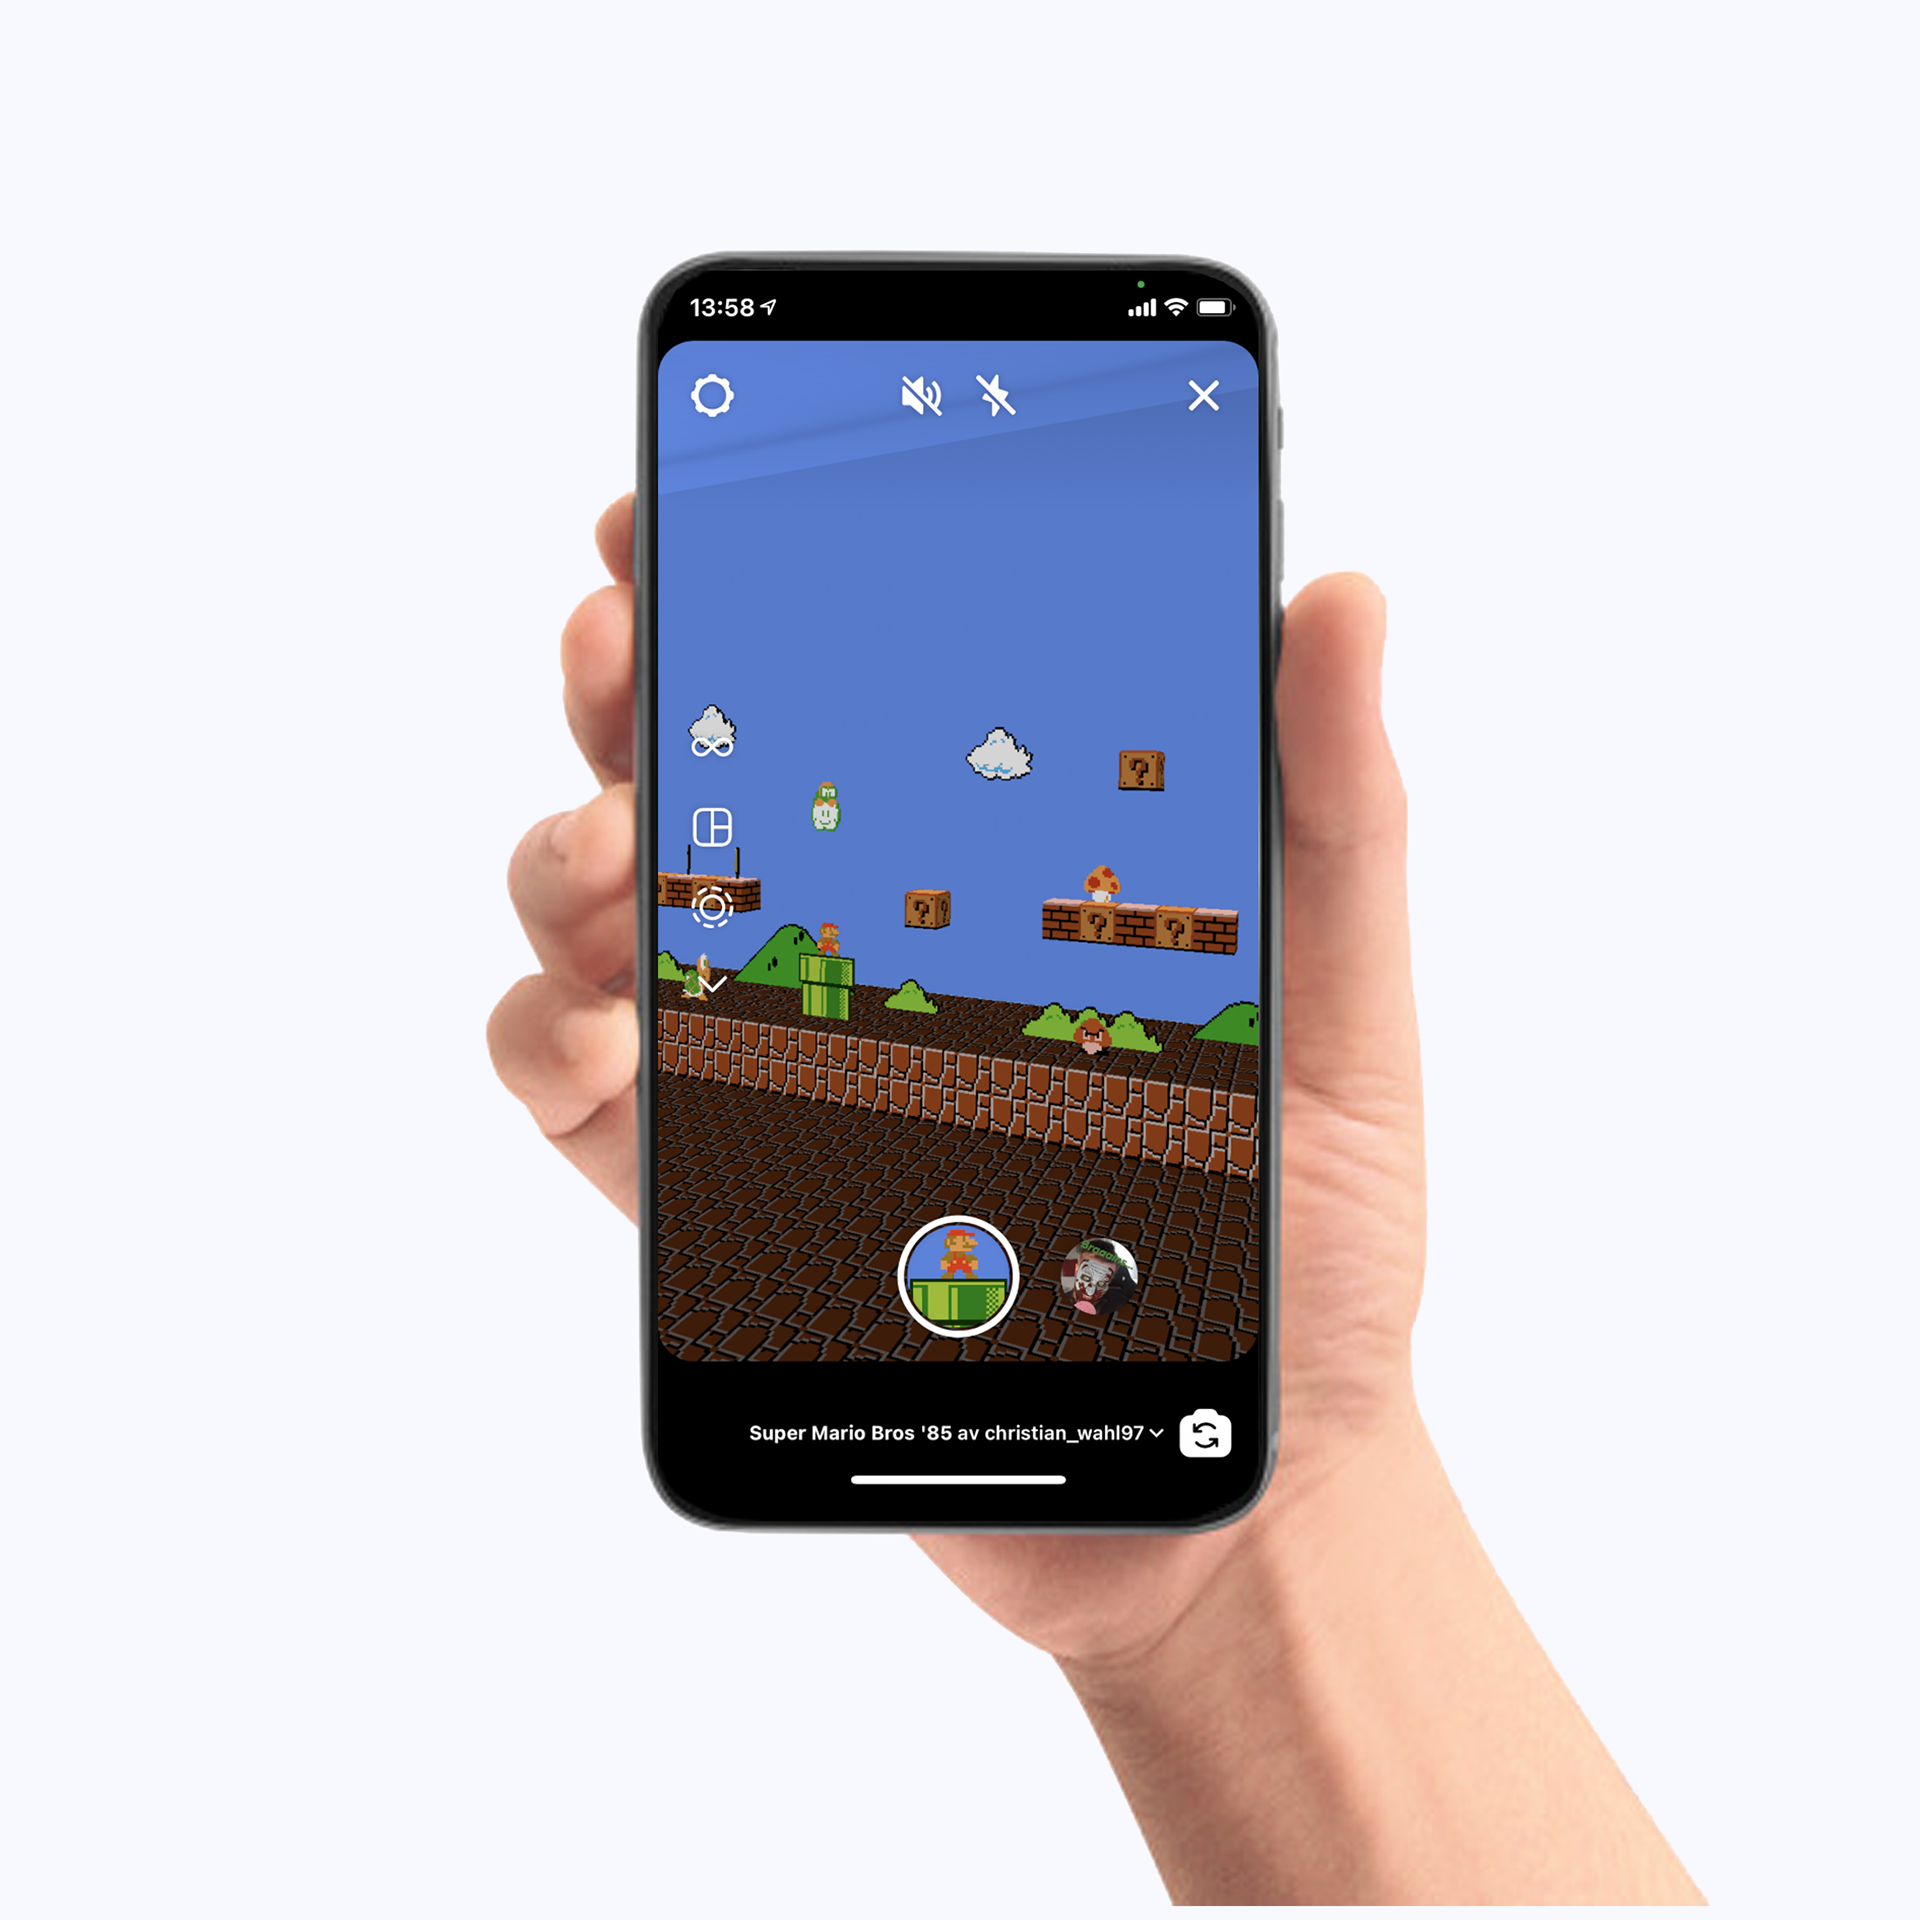
When Instagram opens, make sure the main camera is selected and not the front "selfie" camera.
Aim your phone cameras viewport at the tracker image including "high-resolution Mario" :)
Voilá! Take a look around and press your screen to have Mario appear out of the green pipe.
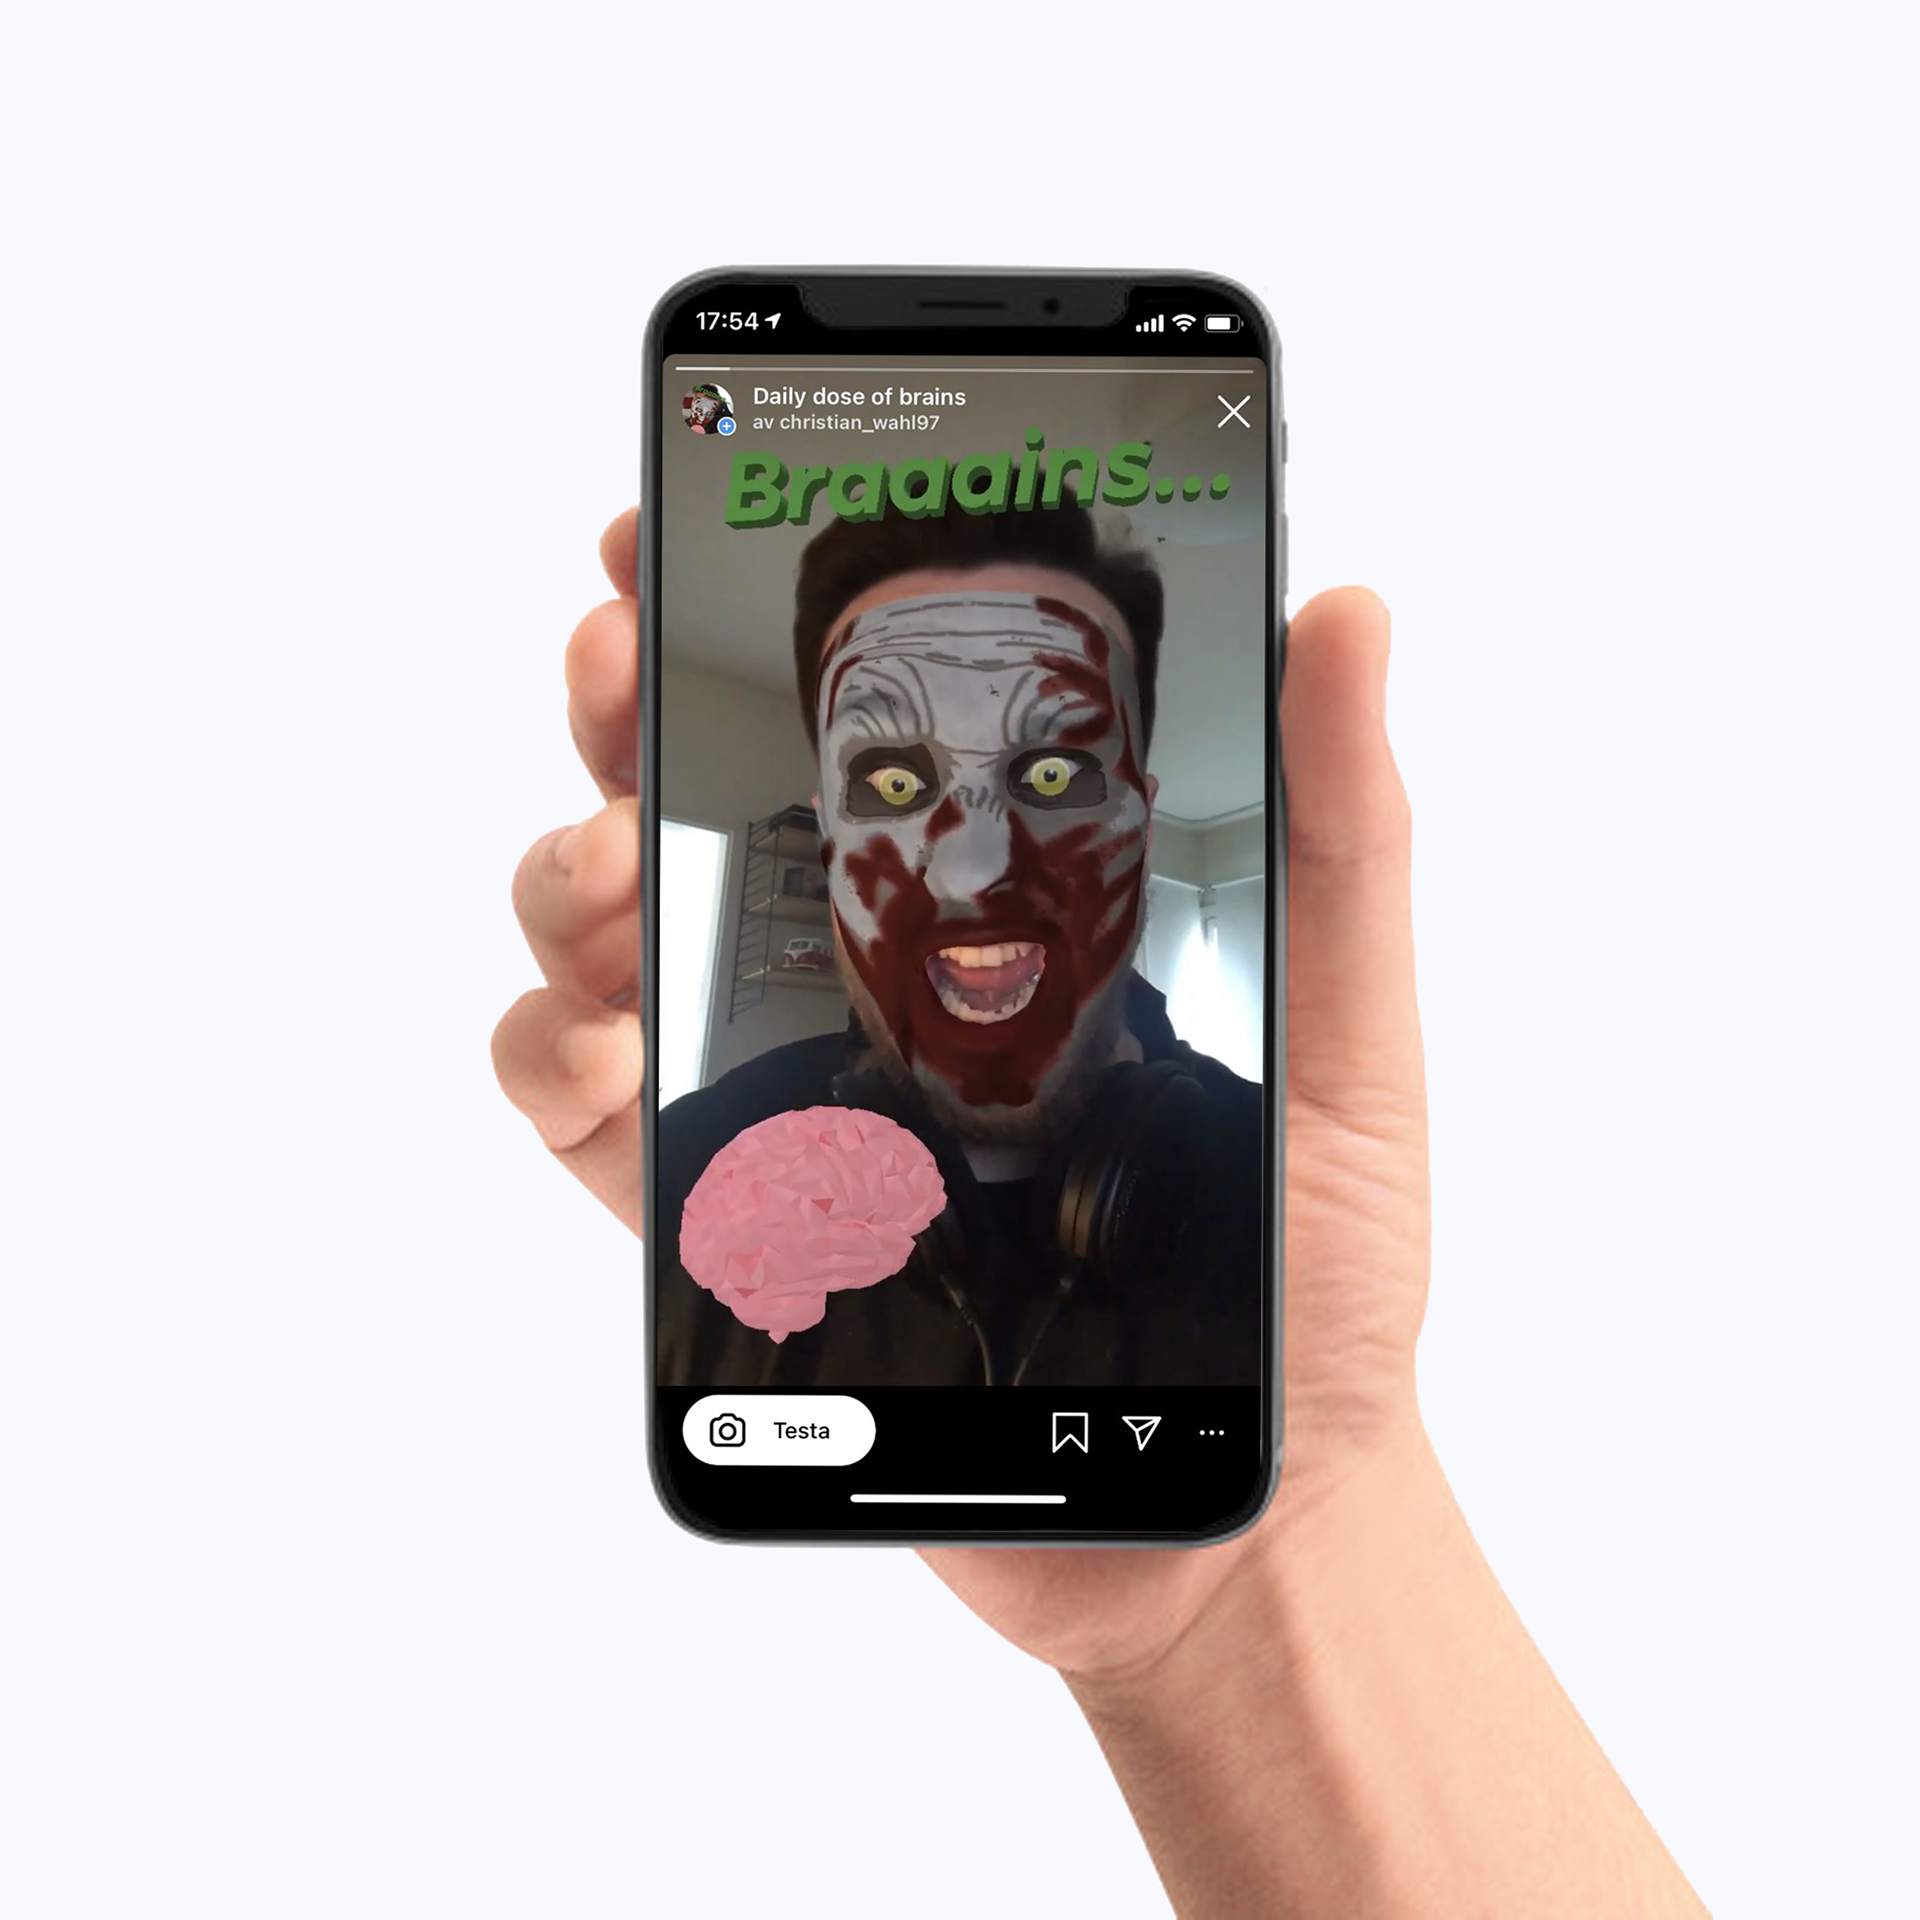
Zombie face filter
To try more of Spark AR's features I also made a quick Zombie face filter, this time using a "Face tracker" instead of a target tracker, and a poorly hand-drawn zombie facemask - I never said I was an artist did I? ;)
Scan the QR-code below and make sure the front "selfie" camera is selected this time. Open your mouth, and see what happens!

Final thoughts
Key takeaways
Initially, when being briefed about the project I thought about how I could apply UX methods to it, but as time went on, I found myself too occupied with just understanding the new software I had to use, leaving UX on the sidelines.
I'm happy to have gotten a better understanding of basic 3D modeling, but my projects got a bit too artsy, and I wish I would have had more time applying UX to them.
• Exploring new formats and tools is always rewarding
• Although not really realized by myself, breaking the pattern of what I'm used to doing with UX was valuable
• Optimizing for limiting file sizes was real interesting, using the advantage of only having to build the scenery that users had in their direct line of sight
May 2021